A C O M P R E H EN S I V E G U I D E TO R E N O V A T I NG
Y O U R H O M E
W H A T T O E X P E C T A N D W H A T T O R E M E M B E R
A Comprehensive Guide to Your First Home Renovation
I. Introduction
Embarking on your first home renovation can be both exhilarating and daunting. This detailed guide will walk you through the process, from initial planning to final touches, ensuring you create a space that's both functional and beautiful.
II. Pre-Planning Phase
1. Assess Your Needs and Wants
- List must-have features vs. nice-to-have elements
- Consider your lifestyle and how it might change in the coming years
- Think about energy efficiency and sustainability
2. Set a Realistic Budget
- Research average costs for similar renovations in your area
- Include a 10-20% contingency for unexpected expenses
- Consider financing options if necessary (home equity loans, personal loans, etc.)
3. Research and Compliance
- Study local building codes and zoning laws
- Check if your home is in a historic district with special requirements
- Investigate if you need homeowners association approval
4. Assemble Your Team
- Interview and select an architect or designer
- Choose a reputable general contractor
- Consider hiring a project manager for large-scale renovations
III. Planning Process
1. Discovery Phase (2-4 weeks)
- Walk through your home with professionals
- Discuss your vision, needs, and budget constraints
- Have professionals assess structural integrity and systems (electrical, plumbing, HVAC)
2. Schematic Design (4-6 weeks)
- Develop rough floor plans and elevations
- Create 3D renderings or sketches of key spaces
- Discuss material options and their implications
- Refine budget based on initial plans
3. Design Development (6-8 weeks)
- Finalize floor plans and layouts
- Select materials, fixtures, and finishes
- Develop detailed cost estimates
- Make necessary adjustments to stay within budget
4. Construction Documents (4-8 weeks)
- Create detailed technical drawings and specifications
- Outline exact scope of work for contractors
- Prepare documents for permit applications
- Finalize contracts with contractors and subcontractors
IV. Key Features to Include
1. Smart Storage Solutions
- Hidden charging stations: Install outlets inside kitchen drawers or cabinets
- Mudroom organization: Custom-built lockers or cubbies for each family member
- Laundry room efficiency: Fold-down ironing board and hanging rods
- Closet systems: Maximize space with adjustable shelving and drawers
2. Electrical and Lighting Plan
- Abundant outlets: Plan for at least one outlet every 6 feet in living areas
- Smart home integration: Prewire for automated systems (lighting, security, HVAC)
- Layered lighting: Combine ambient, task, and accent lighting in each room
- Energy efficiency: Install LED fixtures and smart switches/dimmers
3. Kitchen Innovations
- Multi-functional island: Incorporate seating, storage, and prep space
- Appliance garage: Hide small appliances behind retractable doors
- Smart appliances: Choose WiFi-enabled models for convenience
- Pot filler: Install near cooktop for easy filling of large pots
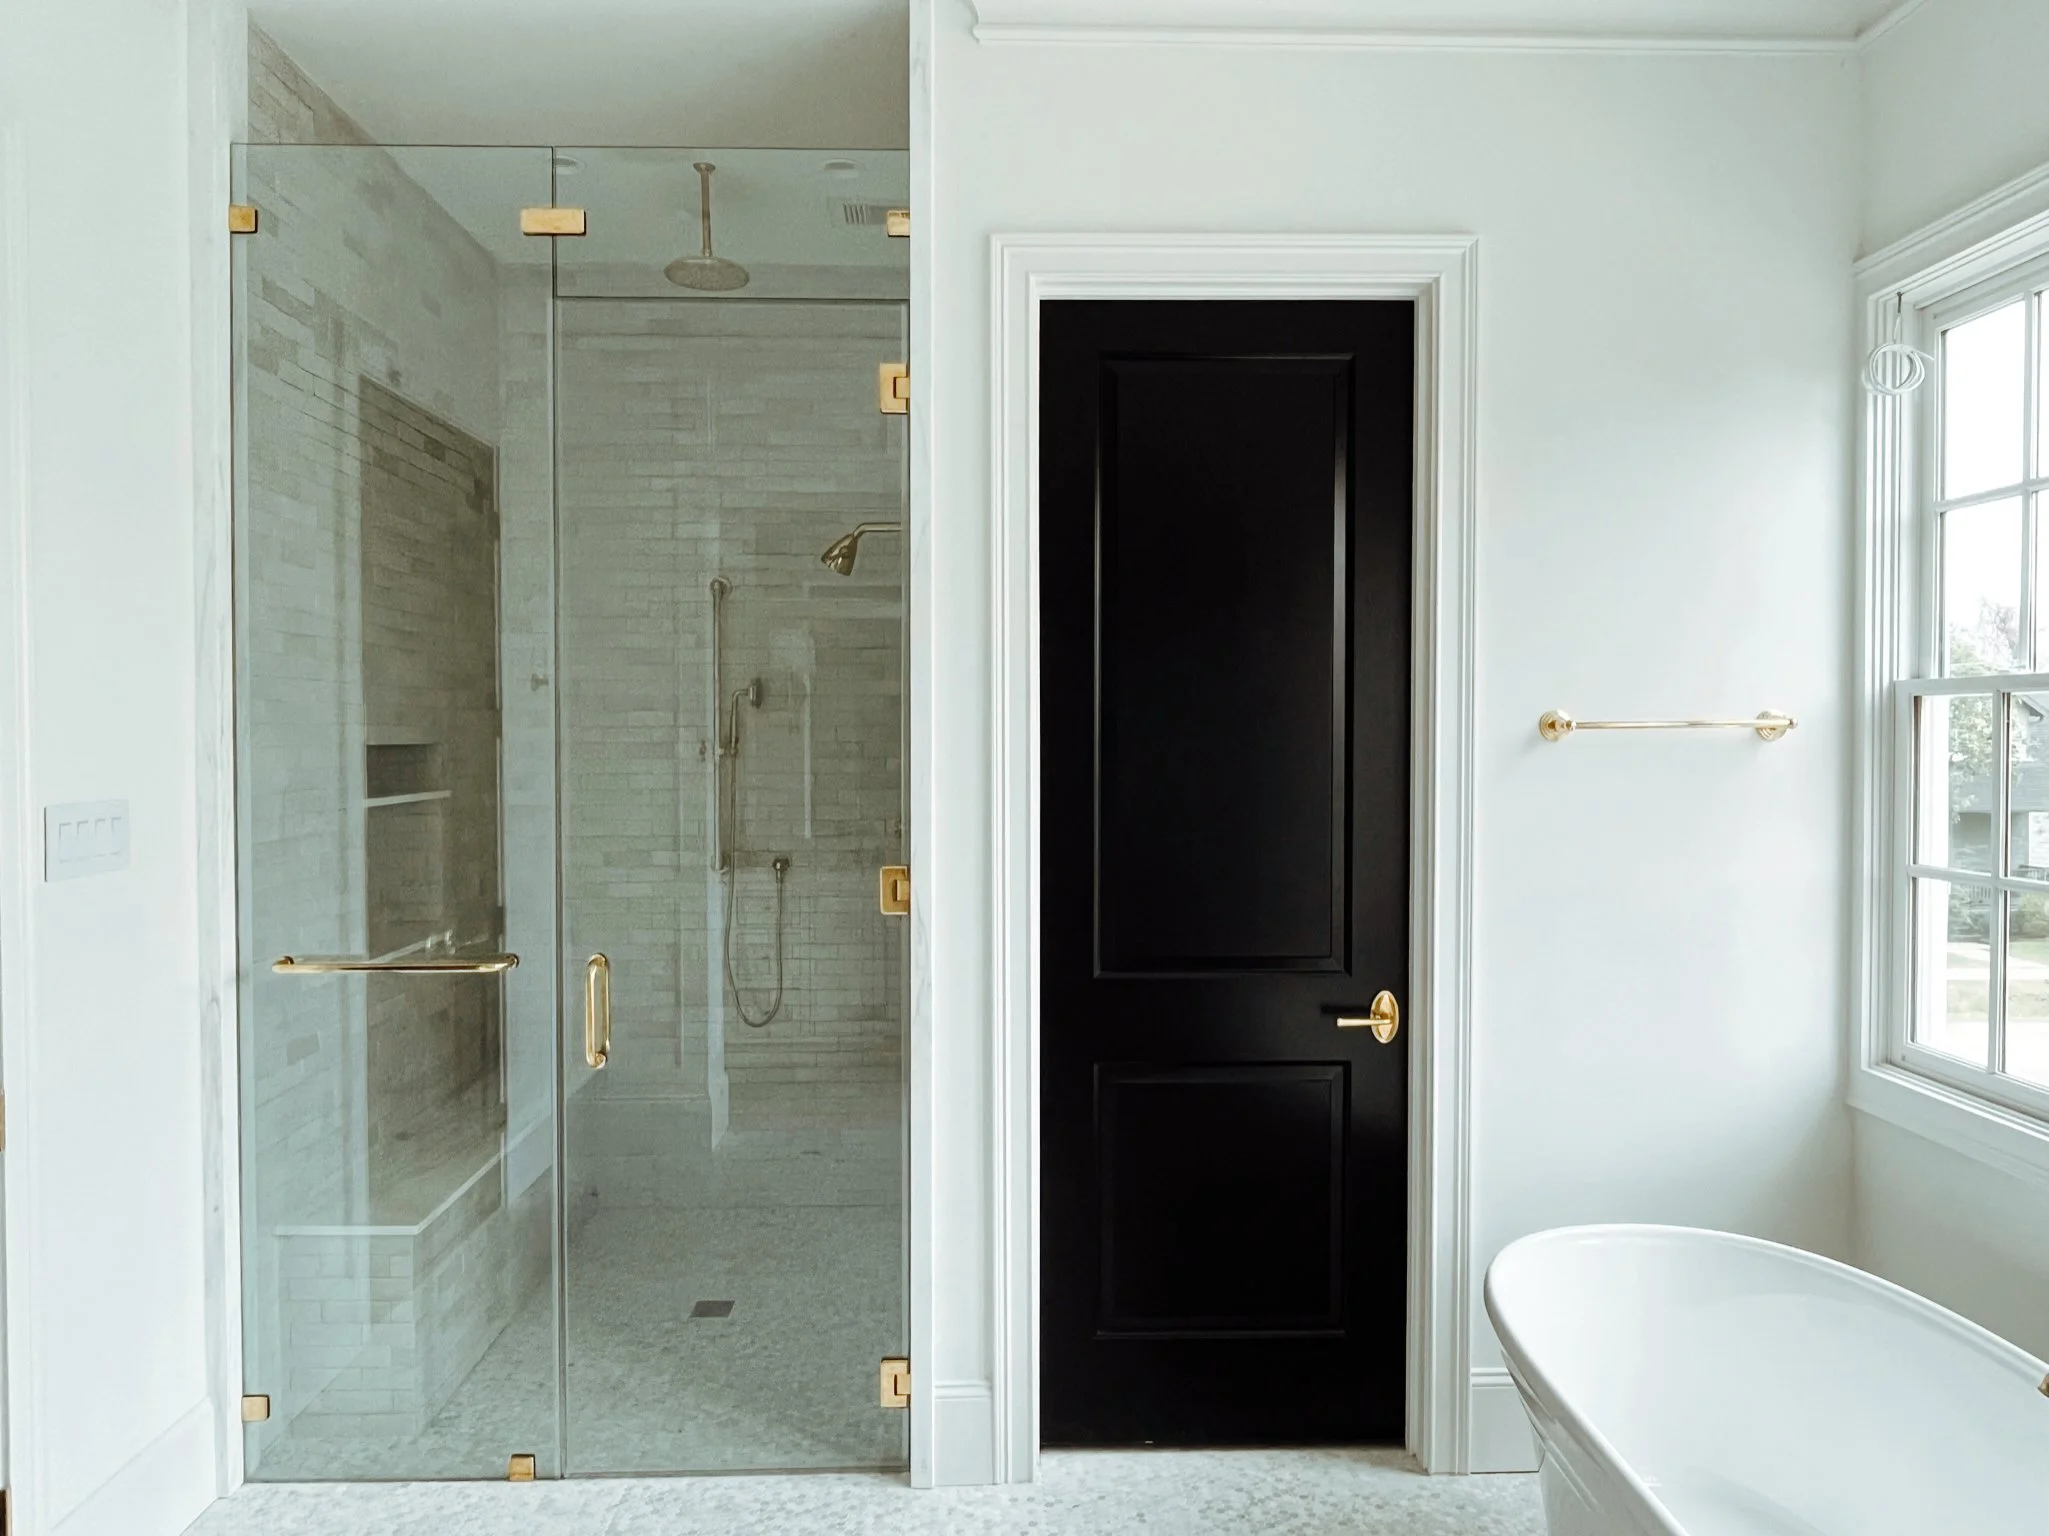
4. Bathroom Upgrades
- Privacy-focused layout: Position toilet in a separate alcove or behind a half-wall
- Curbless shower: Create a seamless, accessible shower design
- Double vanity: Install two sinks in master bath for added convenience
- Heated floors: Add comfort with radiant floor heating
5. Living Areas
- Multi-purpose spaces: Design flex rooms that can adapt to changing needs
- Built-in entertainment center: Custom cabinetry to house TV and components
- Sound system: Prewire for whole-house audio
- Home office: Create a dedicated workspace with ample power and data ports
6. Energy Efficiency and Comfort
- Insulation upgrade: Improve wall and attic insulation for better temperature control
- High-efficiency windows: Choose double or triple-pane for improved insulation
- Smart thermostat: Install programmable or learning thermostats
- Ceiling fans: Add to bedrooms and living areas for improved air circulation
7. Outdoor Living
- Covered patio: Extend living space outdoors with a roof or pergola
- Outdoor kitchen: Install a grill, refrigerator, and prep space
- Landscape lighting: Illuminate pathways and highlight landscaping features
- Water features: Consider a fountain or pond for a tranquil atmosphere
V. Construction Phase
1. Preparation (1-2 weeks)
- Set up temporary living arrangements if necessary
- Clear out renovation areas and protect remaining furnishings
- Establish a communication plan with your contractor
2. Demolition (1-3 weeks)
- Remove existing structures, fixtures, and finishes
- Conduct any necessary abatement (asbestos, lead paint)
- Perform additional inspections of exposed areas
3. Rough-In Work (3-5 weeks)
- Install new framing, electrical wiring, plumbing, and HVAC systems
- Complete any structural changes or additions
- Schedule inspections at key milestones
4. Insulation and Drywall (2-3 weeks)
- Install insulation in walls and ceilings
- Hang and finish drywall
- Prime walls for painting
5. Finishes (4-6 weeks)
- Install flooring, trim, and cabinetry
- Paint walls and ceilings
- Mount fixtures, appliances, and hardware
6. Final Details (1-2 weeks)
- Complete punch list items
- Conduct final walk-through with contractor
- Obtain final inspections and certificates of occupancy
VI. Post-Construction
1. Deep clean the entire renovation area
2. Arrange furniture and decorate spaces
3. Organize new storage areas efficiently
4. Test all new systems and features
5. Document warranties and maintenance requirements
6. Consider a post-renovation party to celebrate your new space
VII. Conclusion
A successful renovation requires careful planning, clear communication, and attention to detail. By following this guide and working closely with your chosen professionals, you'll be well-equipped to transform your house into the home of your dreams. Remember, flexibility and patience are key throughout the process. Embrace the journey, and soon you'll be enjoying your beautifully renovated space.